Here are some pictures of the early cemetery. These are old pictures!!


I then ditched the whole scene when I found some fake grass they use with train sets. Normally it's expensive and I would have not gotten it, but I found it at the place where I find most of my junk and scrap parts for my sets. Then I started finding more and more things and soon the cemetery started coming to life. I knew I wanted a fountain of some kind in my cemetery. I think fountains are aesthetically pleasing to look at. So this was the actual first thing I made for my new playset.
Here is what I used. For the bottom I used the bottom of a yogurt container and the top rim. I turned the rim over and glued it to the inside of the bottom of the container. (You can see what I mean in the picture). I then had a plastic (maybe Barbie??) bucket. I over turned that and screwed it to a turned over what looks like a rock pile and a huge wooden spool. Clay normally won't stick to wood and when it gets wet it expands. It somehow worked enough and the cracks add to the "aged effect." To that I had a scrap piece from a Stargate figure. I then sculpted over another screw to make a little stand. To that I attached another scrap part from I think a Stargate figure. I boiled this in pieces (but not the very bottom part or it would ruin the plastic). Then I glued them together. I had some old junk clay which I broke and I boiled the pieces and then glued them onto the bottom of the container to make it look like rocks. It looked very cool. Here are some before pictures:


Finished (with flash and without)


This was sort of my inspiration picture.

This (and all the other parts) sat staring at me for the longest time. I knew it was going to be tedious painting all these parts. What's another "FEW" months when it's been on my list to do for years? Now that I'm on break, I had no excuse to leave it sit.
Here are some before pictures of the cemetery:


In this picture(s) I used 4 plastic wall pieces. I don't know where they came from (what action figure--there is no label on it.) There is a fake pine tree, a wooden bench and some small wooden trees (that were in that green circle), there is a Barbie shrub in a planter. You can see two Harry Potter pieces--I ended up gluing them together and then gluing that on top of a Buffy grave piece. The steps in the back I'm not sure where they came from. I also found these neat plants in a pot. The sidewalk is cardboard but I ended up using a sheet of cork to give it that concrete look. There is also a water pump.


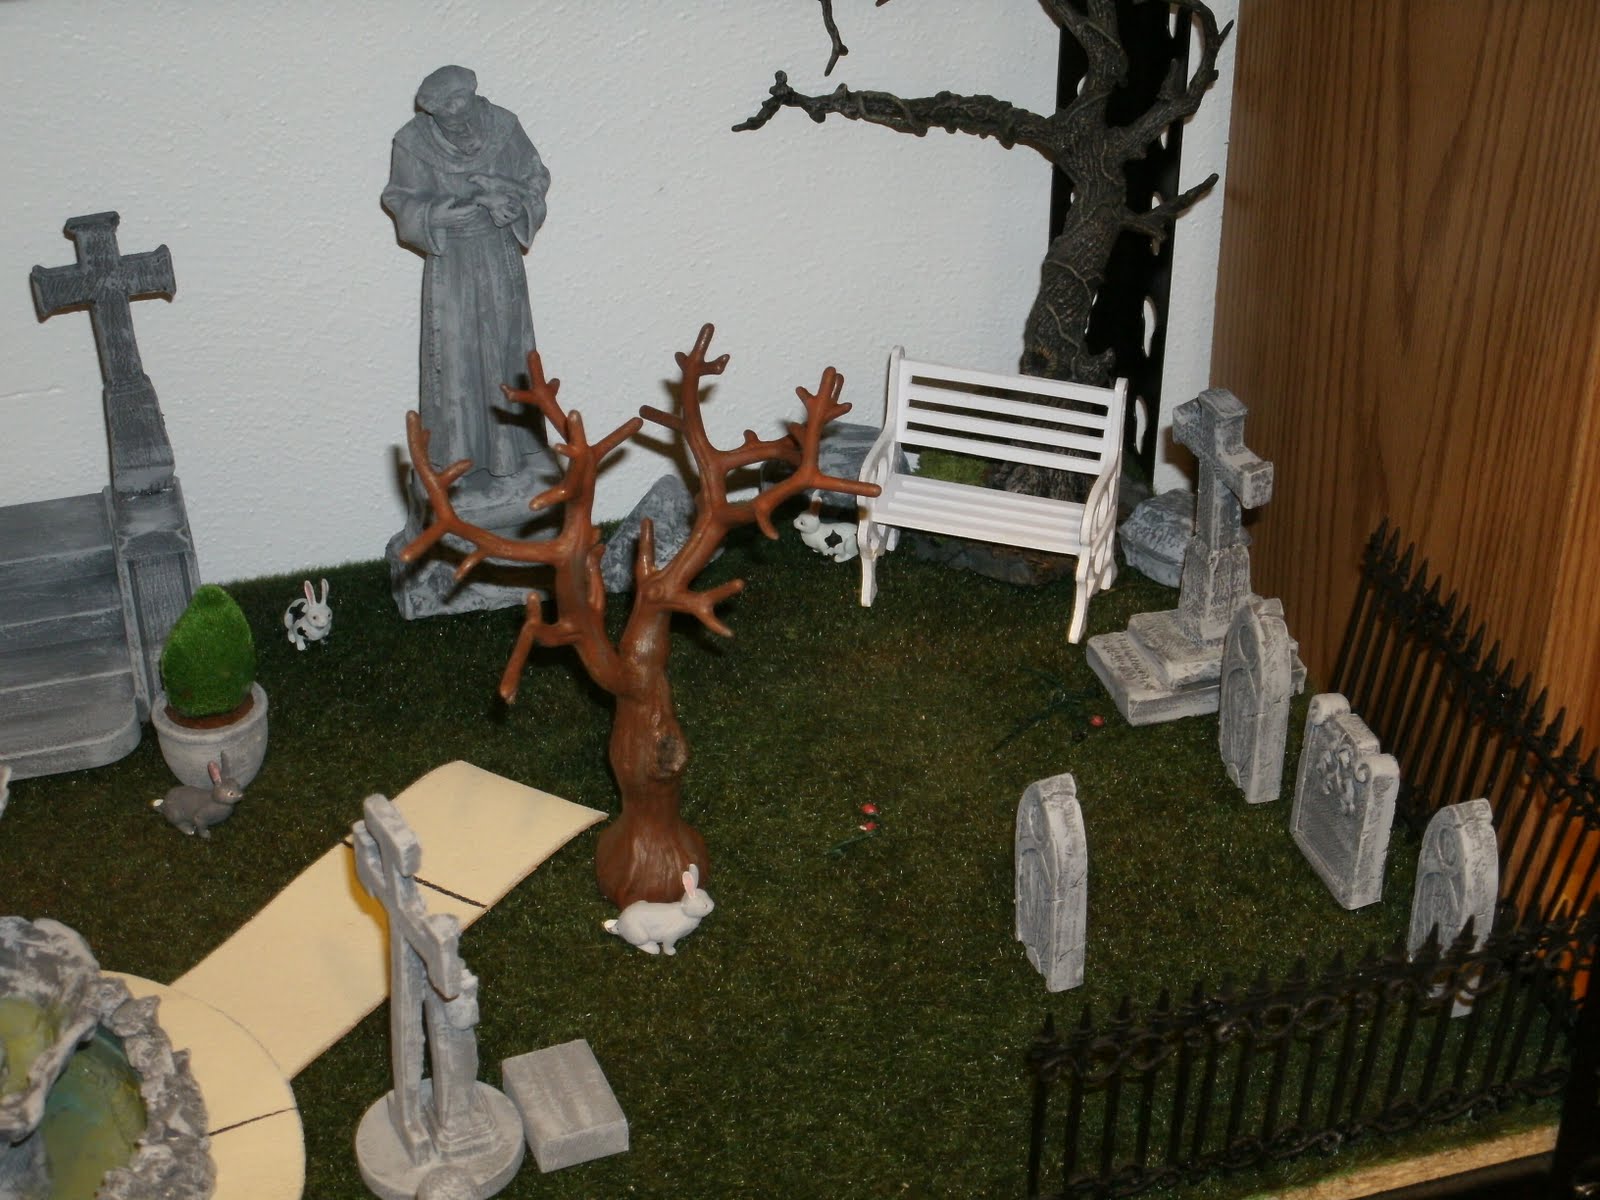
In this picture(s) I found these two Church statues. One is Jesus and the other is a monk, I think. I thought they would be perfect in a cemetery. The larger monk I mounted on a couple of graves and Jesus I mounted on the green disk with one of the crosses you get with Spike. There is another bench, a cool, creepy tree that I don't know where it came from and some grave pieces. I collected MANY fence pieces and painfully glued them together. I found a tree top and glued that to a chess piece. I used some other chess pieces as graves (not pictured).
I really didn't sculpt a whole lot with the graves. I had to cut off the flower parts and the vines that were on the side. I like the rough look it left when I cut off that stuff so there was no need to sculpt over it and make it smooth. I did sculpt on the bumps at the bottom of the huge monk grave. I did that because of this grave I saw:


I started painting one of the graves and I tried to blend in some other paint while it was wet and it just didn't have any "depth" to it. On a whim, not sure what told me to try it, but I painted my first grave dark gray. Once it dried I used a lighter gray and with a little on the brush I swept it over the grave shown below. It worked out brilliantly!! It hit the high parts and left the low parts dark. I was truly blown away at how it looked like real stone!! Check it out! (In real life it looks so much better, it's hard to capture the coolness on camera.)

Once I finished that piece I got a bit obsessive and I did the entire graveyard in this way. Everything has a stone look to it. Here are some more close ups and the completed playset:


Left side


Through the eyes of a hidden vampire...

Middle


Right side


This wall had bricks in it so I had to go back and paint in the bricks. I did it the first time in my old set, but I make it look more real this time with different colored bricks.

The whole playset. I want to make a Buffy figure with a vampire to put in the cemetery, so it's not so empty. That will be coming sometime....

No comments:
Post a Comment